Creating NFTs with Mintpad


A step-by-step guide on deploying your Layer 2 blockchain creations...
LightLink is thrilled to introduce Mintpad, a platform crafted for imaginative minds eager to transform their artwork, writings, recipes, photos, and more into timeless blockchain gems. Creators not only immortalize their work, but also benefit from specifying their royalty percentage, ensuring their creativity is rightfully rewarded every time their work changes hands.
In this guide, we introduce the world of ERC-1155 Open Editions, where a single masterpiece can multiply its magic across numerous copies. ERC-1155 is the game-changer that embraces both the identical and the unique under one roof. (And yes, for those who fancy layers like your classic "10k collections" such as Light Lynx, Mintpad.co has not forgotten to offer the classic ERC-721 standard) but we'll save that for another tutorial.
So let's get started and spread your first unique message on the blockchain!
Prerequisites for Deployment
Before we begin, ensure you have the following:
- Metamask extension installed in your web browser.
- LightLink Phoenix Mainnet installed.
- Sufficient funds for deployment fees (about $3 USD of ETH on LightLink). You can bridge ETH onto LightLink Mainnet here.
How to Deploy LightLink NFTs on MintPad.co
- Navigate to the Mintpad website.
- Click "Sign up".
- Create an account.

- On the first page it leads you to, click "Create collection"

- Choose smart contract type. For this tutorial, we will choose the center one - "Open Edition" ERC-1155 which is the same NFT minted many times.

- Choose "LightLink Phoenix Mainnet" for your chain. You may then have to Switch Chains if you weren't already on Mainnet.

- Fill out details of your collection. Choose a Symbol/Ticket (We changed ours to just letters "ONE" as it didn't seem to accept the number in "CH1"). Choose a Collection Name, which wallet your money will go to, and the Creator Royalties amount for receiving a % of any secondary sales.

- Then click "Deploy smart contract".

- It cost me about $2.16 USD or 0.00054733 ETH to deploy. Enterprise Mode of changing to 0 gas didn't work here, but it's still extremely affordable compared with Layer 1 deploy costs.

- This page will populate with the same information, so you can go to the Next Step.

- Disregard the burn instructions, as that's only for Open Edition + Burn, so it may be an error of why Mintpad included this here.

- Choose your File, Name your NFT, and write a Description.

- When you are ready, click Update collection to upload the metadata.

- This cost us about $0.07 USD or 0.00001652 ETH to upload.
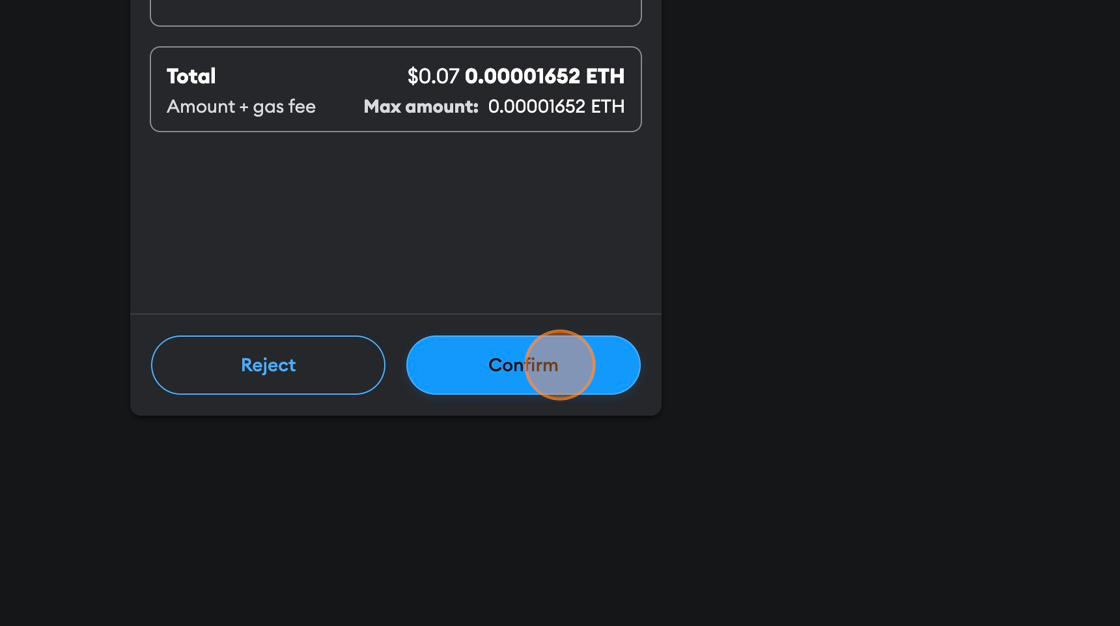
- The next step is setting up your Mint phases which have a few options.
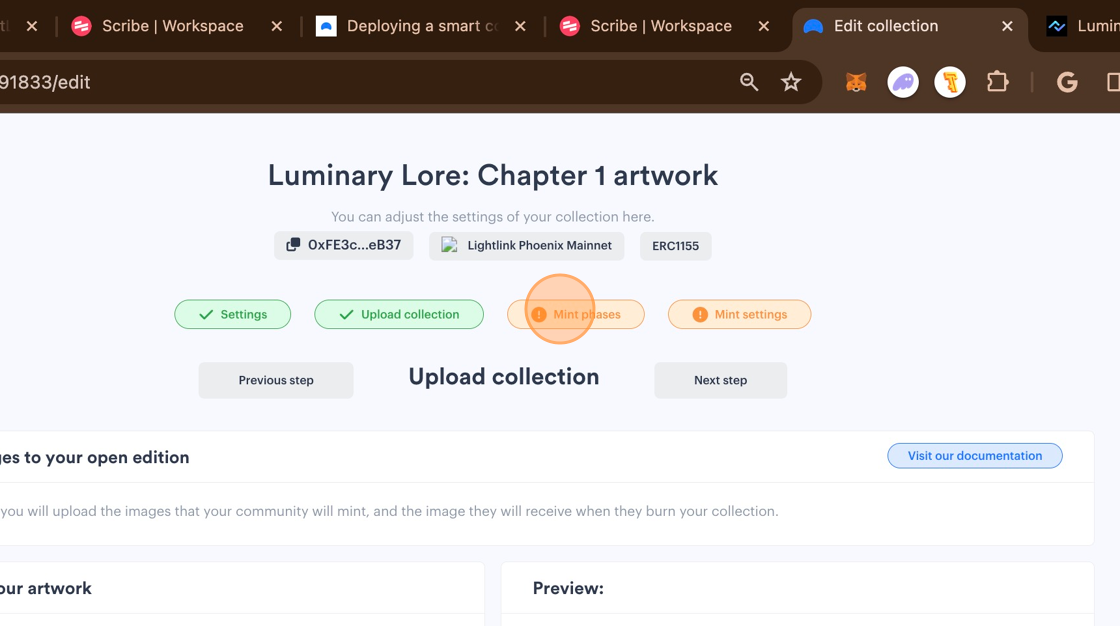
- Select the artwork you just uploaded. You will notice it says you can set whitelist phases and public mint, or just skip to public mint, as we will do. It says you must have set at least one mint phase with a maximum of 3 (We set ours to 2).

- First, you'll set your maximum total supply. This is how many NFTs can ever be minted, but this is updatable by you if you change your mind later.
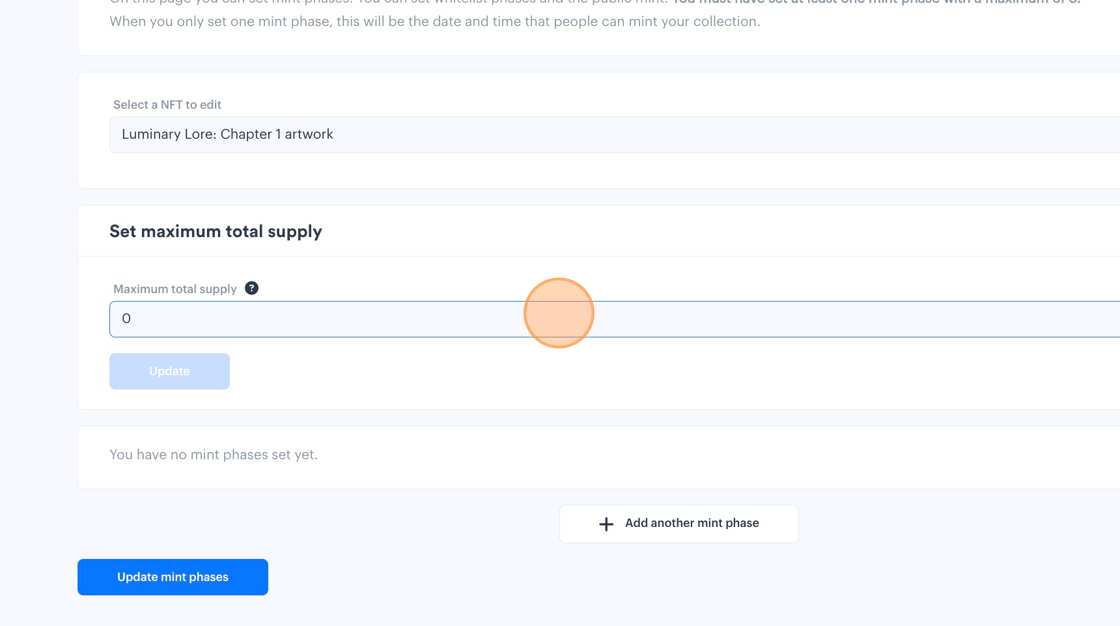
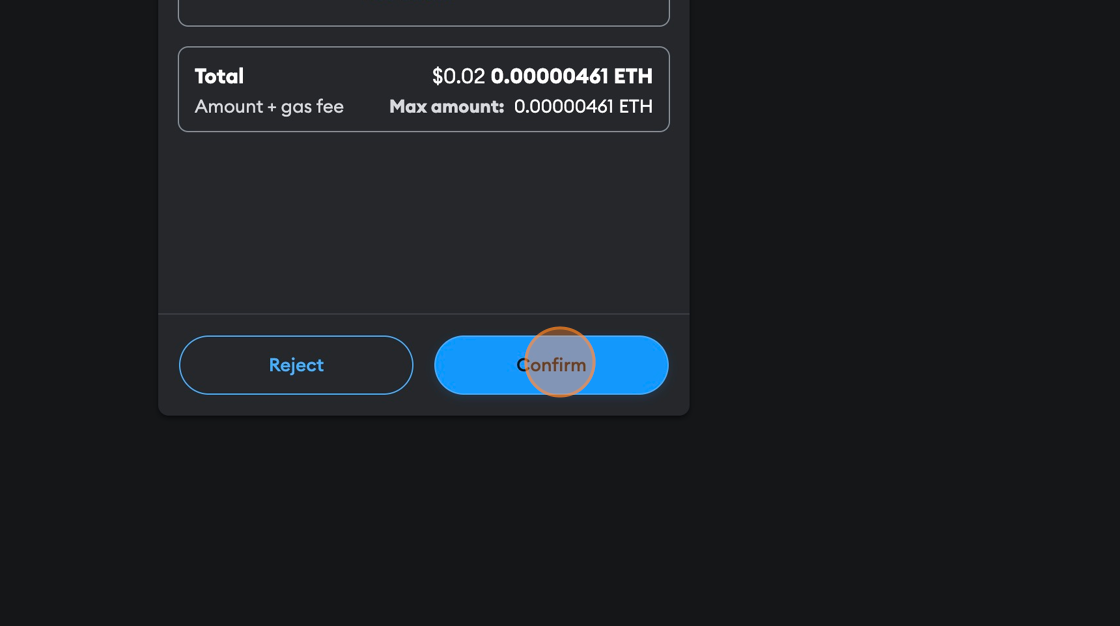
- You just have to sign another transaction to update it at any time.

- This cost me about $0.02 USD or 0.00000461 ETH.
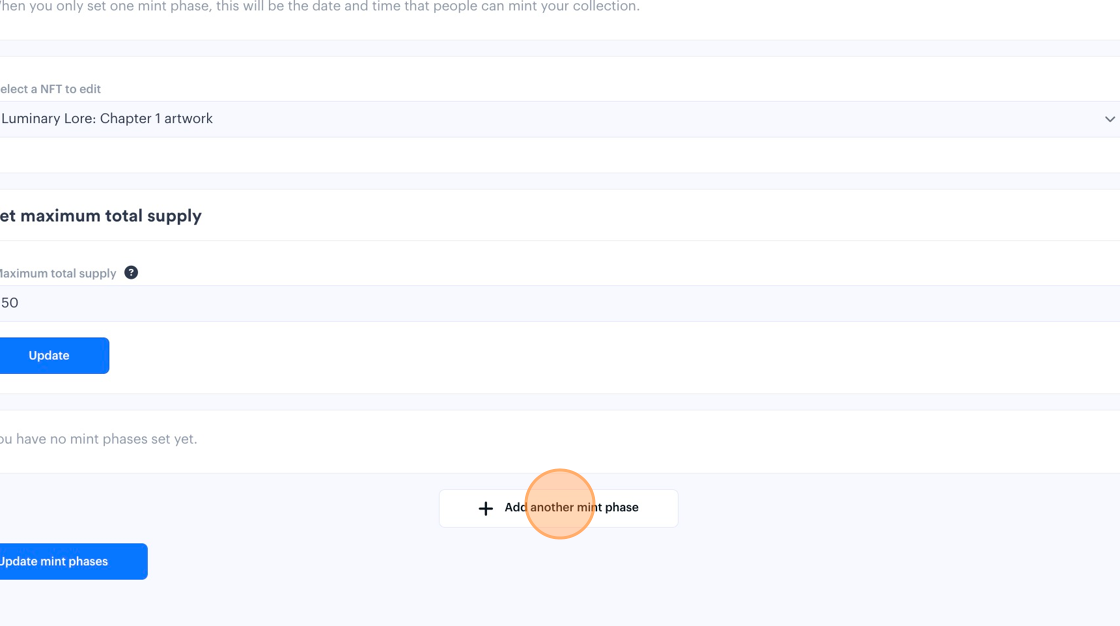
- Now you can add a mint phase as we mentioned earlier.
- We selected our total amount of NFTs again (50) for a public mint, but you could instead create a whitelist of 25 and a public mint of 25, for example. The rules are up to you.
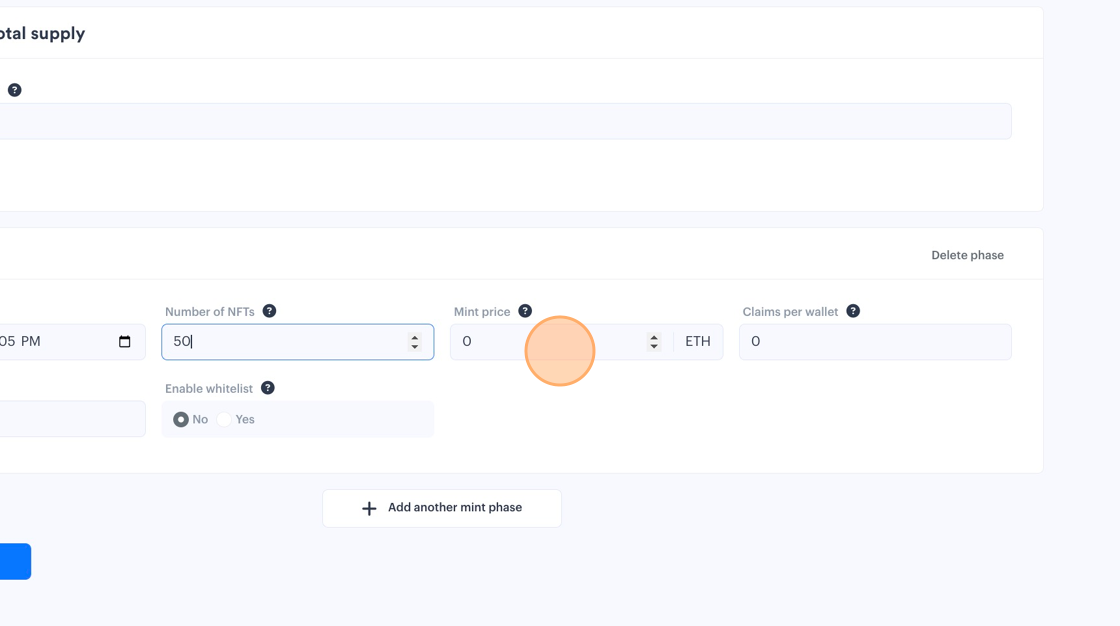
- Select a Mint price and how many Claims per wallet.

- Rename your Phase.

- Enable whitelist or not. Here you can choose to add a CSV file of all exclusive wallets in a single column, such as all of your existing collectors, or perhaps all wallets interacting with LightLink Phoenix Mainnet. You can often find this information on Etherscan, or the LightLink Block Explorer, depending.

- Another transaction incoming.

- These rules cost me about $0.10 USD and 0.00002485 ETH.

- Almost there. Next step is the Mint settings.

- This is where you describe your collection for social sharing purposes. You will be able to set the URL link you want people to go to for your Collection page, set Descriptions, and add a social share image. For sake of ease, we uploaded the same image as our NFT.

- When you update your mint settings here, it does NOT have a transaction cost cost. This is the off-chain information for search engines.
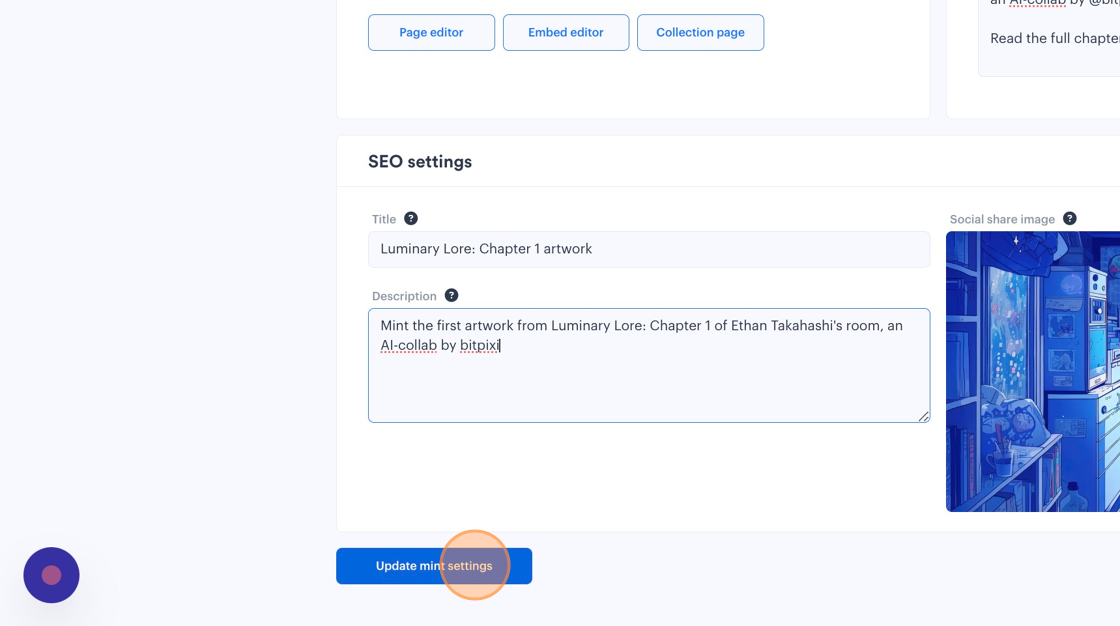
- There is no next step actually. You are done. So you can copy your Permalink for easy sharing.


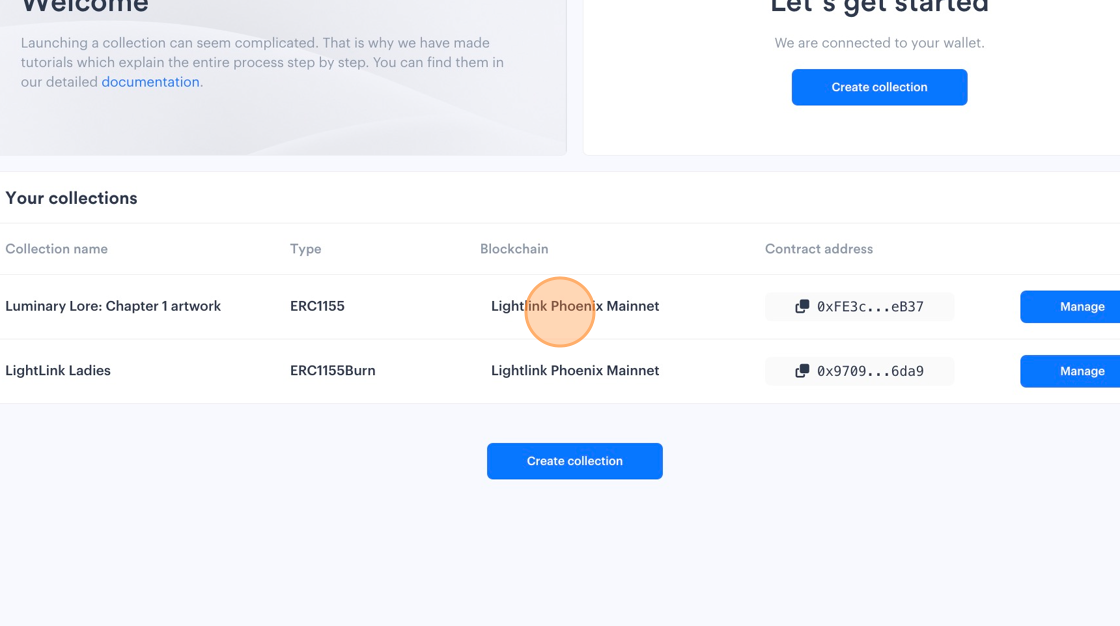
- You can see all your collections again by clicking up top.

- So if you ever want to edit it again, you can come back here to Manage.
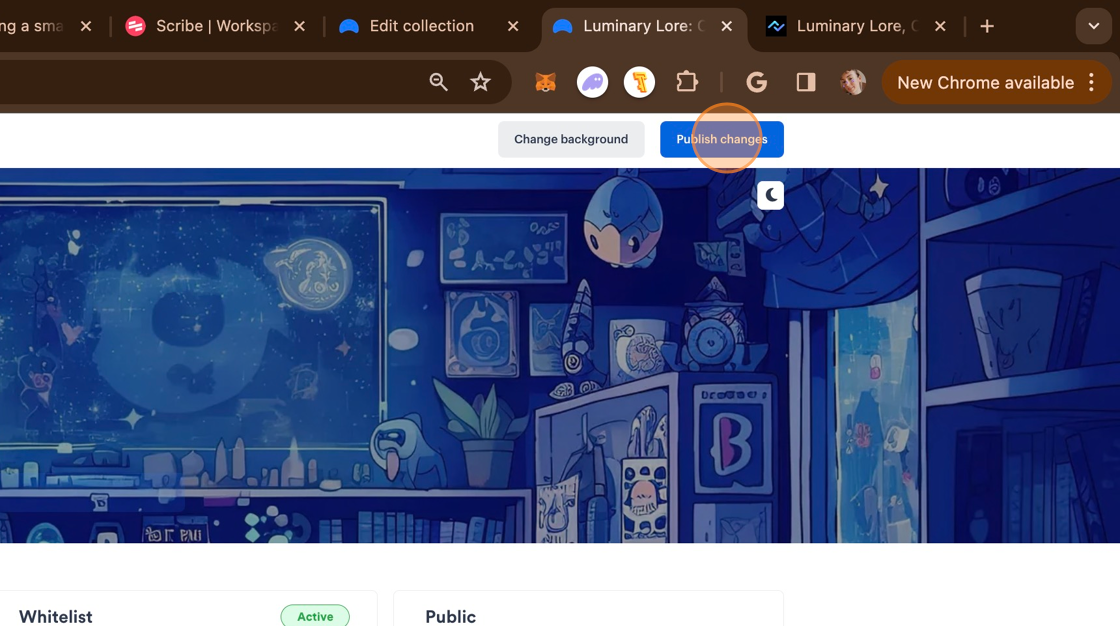
- Optional: Going back into your public link to the new collection, you can stylize your collection page with a background, a logo, and primary color for the buttons.

- When you are done, click Publish changes. This does not take a transaction fee. It is off-chain information for the website view.
- Here we are going to test out how it's working and Mint the 1st token in the collection, which will show as "Token 0" actually.

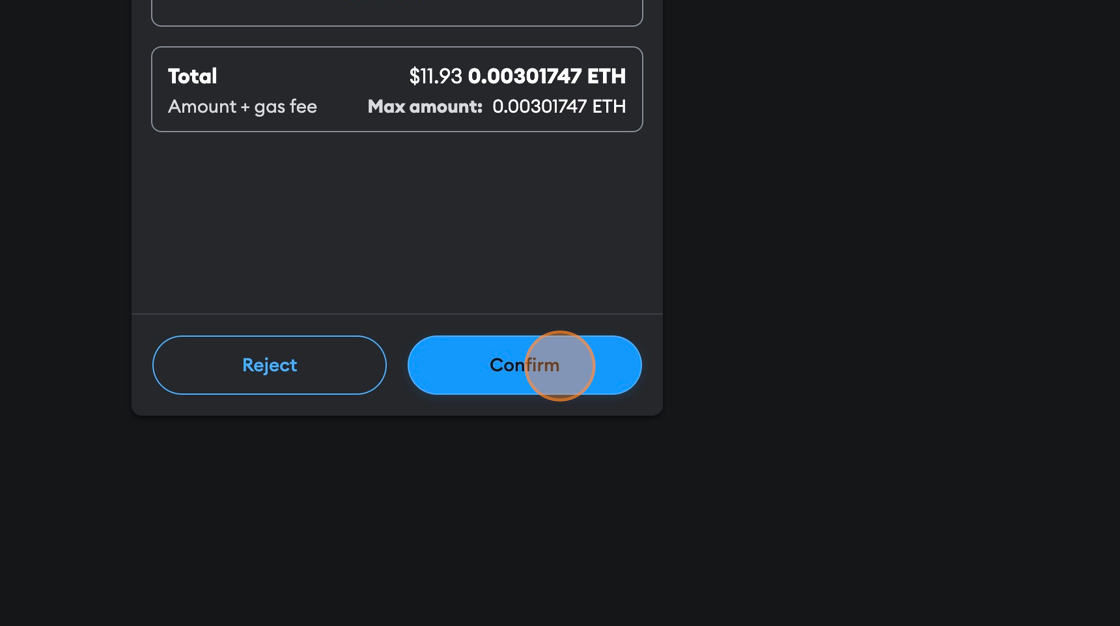
- Since this collection is not whitelisted by LightLink for "Enterprise Mode", your collectors will have to pay a small gas fee. In the future, LightLink may set up tier plans for people who want their community to be able to edit the gas to 0.

- Confirm the purchase.
- Mintpad will show "Mint successful", but won't direct you to a marketplace. Currently we are working on adding marketplaces, but you can still view your NFT in your wallet on the LightLink Phoenix Mainnet Explorer for now, and even set up an "Open Edition + Burn-Redeem" on Mintpad to burn 2 and get a new NFT!

- If you want to mint our art from our collection that we used in this example, it is located here.

- Try it out yourself!
In light of the current surge in Layer 1 gas fees, even the most seasoned artists are on the lookout for new, more economical Layer 2 solutions for minting their works on a regular basis. By participating in minting your work at an affordable rate, you also unlock the door to our Side Quests in the Phase 2 of the Community Airdrop. This means that simply by engaging with Mintpad, creating your tokens, and exploring the platform, you can claim additional reward points on Galxe.
Seize this opportunity to amplify your brand and also get some coin!


